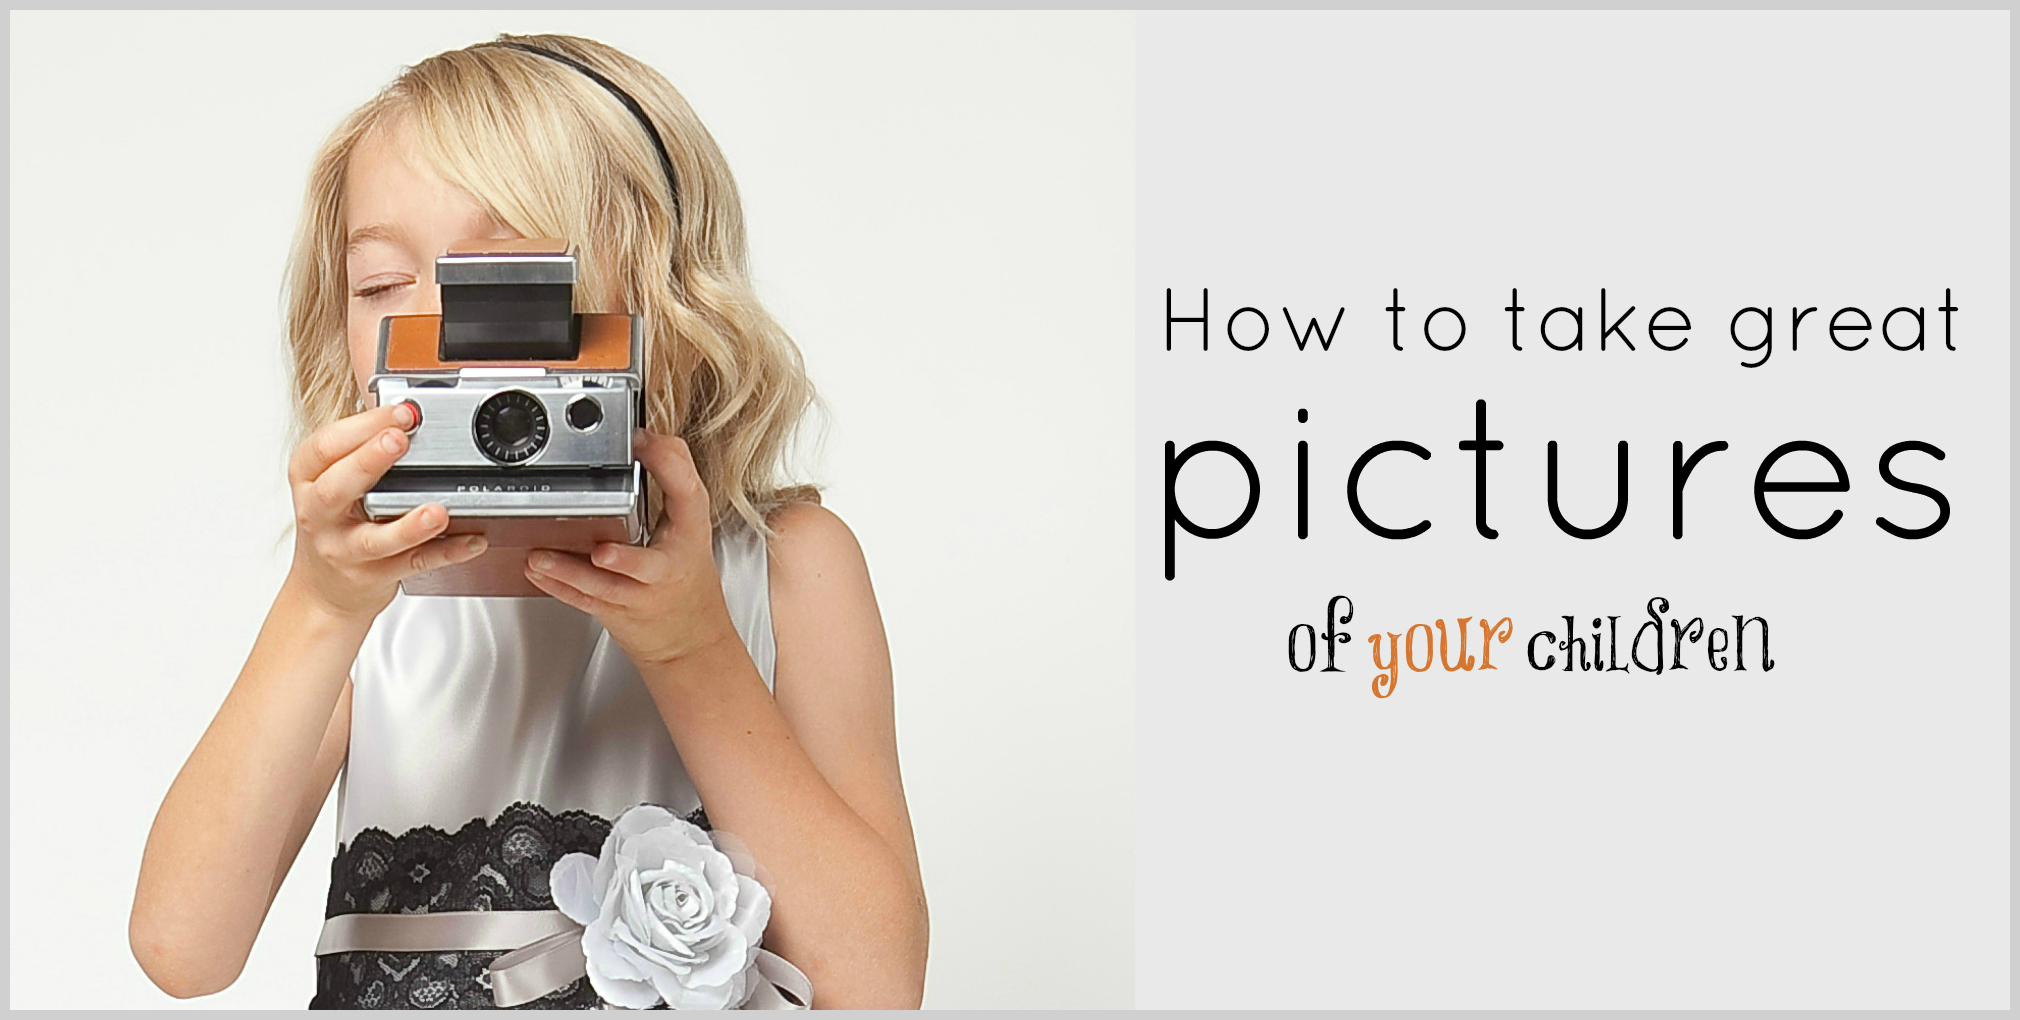
We asked our very own flower girl photographer, Sasson to share his secrets of taking great pictures of flower girl dresses.
After more than a decade of photographing flower girls in their special event dresses for flowergirldressforless.com, I’ve developed a few dos and don’ts to take great shots and make my little models have fun in the process. And that is one of the main keys; that the little girl (or boy) has fun modeling. Only then can I capture great images. So here are some points to help make that happen with your little model.
The Night Before
Try the dress on to make sure it fits well. Try on the shoes and any jewelry and accessories. Iron or steam her dress and sash. Get her entire outfit ready for the next day.
Make sure she gets a bath and plenty of sleep. You want her to be well rested and in a good mood for her shoot. Make sure she has clean nails and no chipped nail polish. I like to stay away from fancy nails all together. Either no nail polish or solid light pink nails are preferred.
Charge your camera’s battery and make sure your memory card has plenty of room on it. I like to start with a freshly formatted card for a shoot to avoid any surprises. Have an extra memory card and battery at hand, in case you need it.
Day of Shoot
Start her with a nice healthy breakfast without any added sugar. You don’t want her to be bouncing off the walls! Make sure her hands and nails are nice and clean. White cotton underwear works best for the shoot. Anything dark can show through the dress and appear on the pictures.
Hair & Makeup
Start early and get her hair and makeup done. You could do it yourself or take her to a local beauty salon. For a glamorous and classic look try an up-do. If she has short hair, you could opt for a modern, slick-back do. Use plenty of gel and hair spray if you are going to be shooting for a while. I keep a spray bottle of leave-in hair conditioner at hand to deal with stray hair. When hair start to fray, I spray a little bit and pad it down.
Go easy on the makeup to capture the natural innocence of the young girl. A little powder to help avoid shiny skin is helpful. A little lip gloss to make her lips shiny and look a little darker in the pictures. Keep the lip gloss close at hand and re-apply as needed during the shoot.
Lighting
Lighting white or ivory dresses with tulle can be very tricky and require several studio lights. Regular camera flashes and pop-up flashes should be avoided if at all possible. I love the saying that goes “When should I use the pop-up flash? When you don’t like the subject!”. For easiest and best lighting go outdoors. Best time is in the early morning hours, up till about 10am. After that the sun is in the middle of the sky and creates dark shadows which are unflattering. Late afternoon before sunset is also a good time. However, morning light works best for bridal photos.
Setting & Background
Simpler natural settings work best. Avoid really busy backgrounds. You want the attention to be on the model and her dress and not on the interesting background. A nice green lawn or park is ideal. Just make sure it is not wet! If you are shooting indoors, find a spot that is not too crowded with furniture. Again, the simpler the better. If you have a feature wall, one with a darker color, she could pose in front of that wall. Just make sure she doesn’t stand too close to the wall. You want some distance between her and the wall to avoid shadows on the wall.
Music
Play some nice tunes to get her in a playful mood. Kids respond amazingly well to music and will give you some great poses. Top 40 pop music works well for most kids. Although, I play all kinds of music in my studio for kids and they love it all. As long as it has a nice beat that they can move to, it will work great.
The Dress
Before she puts on the dress, fluff it out. Some dresses have extra crinoline that can be scrunched up to give the dress more volume. Put on any jewelry, shoes and accessories. Let your little girl look at herself in the mirror and give her plenty of complements to make her feel good about the shoot.
Camera Settings
This can be a lengthy subject and there is plenty of online resources to help you figure out your camera. I usually use a 50mm lens to take full length shots of the dress. I use 100mm to shoot close ups and accessories. Lighting control is usually easy for outdoors. Just set it to Auto and you are all set. For indoors and with flash photography, it gets trickier. For flash photography, you would normally set your shutter speed to 120 and your aperture to somewhere between F11 to F22 so you can have the whole image in focus. To blur out the background for close ups, use a lower f-stop like f2 to f4 and let your camera adjust the other settings automatically by selecting Aperture Priority (Av) mode.
Shooting
Use a tripod if at all possible, to avoid shakes. Lower the tripod so that your camera is at the same height as the model’s head. If you don’t have access to a tripod, get down on your knees and shoot from there. I use knee pads to protect my knees from injury on long shoots. However you do it, for full length shots, do not point your camera down at the subject. For best results, get down and point your camera straight at her.
Start by taking full length shots first. Then move closer and take close ups and head shots. For close ups you can get more creative and shoot up or down, meaning you can point the camera lens up or down at her for a more dramatic effect.
Frame the shot so you see here in the middle or slightly to the left or right of center. No need to include a lot of the surroundings in the shot. Again, it’s about her and not the interesting background. So keep it cropped tightly.
Posing
It is important to communicate clearly with your little model. In my experience, they are eager to do a great job and want clear direction on how to do so. Start by clearly stating what you would like them to do and make sure they understood what you are asking them. All in a fun, light hearted way. We avoid any baby talk or talking down to models in any way. They are treated with respect and they respond in kind. When asking them for particular pose, start by doing the pose yourself so they can see it in action. Then help them get in the pose. If it doesn’t happen easily, don’t force it. Move on to another pose.
After taking shots in her natural form, it could be interesting to take some posed shots. Here are a few ideas to get you started:
- If she has an accessory like a flower basket or purse, she can hold the flower basket directly in front of her. Focus the camera on her face, blurring the basket. The same pose works well with a purse, bouquet of flower, etc.
- Have her look to the side for a profile picture.
- Do a ballet dance pose.
- Have her put her hands together in a prayer pose.
- Visit flowergirldressforless.com for more posing ideas.
Make sure she is smiling in most pictures, even if she is missing teeth. J
Keep shooting and take tons of pictures. You can easily delete the bad ones later but you cannot recapture them later.
Post Processing
Thanks to amazing photo processing software, many mistakes can be fixed in post. Bad lighting can be adjusted mostly automatically using Auto-Color and Auto-Contrast and other lighting features. You want to make sure whites look white and ivory looks ivory. Ivory is especially tricky and you need to be careful not to turn it to white when increasing brightness.
I personally do not like to touch up images too much. I may do a little cropping to tighten up the image and pull the subject in closer. I also look for alignment to make sure the subject is straight in the photo and not crooked. If you re-size the image, add a little sharpening at the very end, just before saving your image.
I hope you found these points helpful. As you can see it is more about preparation and communication than about technology. We would love to see your pictures. You can share them with us on Facebook or upload them to our comments section. If you have any comments or questions, feel free to post them on our Facebook page and I will try to respond quickly.


Leave A Comment